
So, now that we finally have a binary, the rest is trivial you would think? Right?
Running out of RAM only project
I found this in one of the README files for the hello project I compiled in the previous blog post:
hello:
This is a minimal “Hello, World!” program that runs out of RAM. It is a small program that is really useful only for testing the bootloader.
NOTES:
Debugging from RAM
You can debug from RAM version using ZDS-II as follows:
a. Connect to the debugger
b. Reset, Go, and Break. This will initialize the external RAM
c. Break and Load the nuttx.lod file
c. Set the PC to 0x050000
d. Single step a few times to make sure things look good, then
e. Go
Sounds easy enough. Unfortunately, I didn’t get anywhere…
I started with using the hello.zdsproj (relative path ../nuttx/boards/z80/ez80/z20x/configs/hello/) and to my surprise I found it badly configured. The Z20X is using a eZ80F92, the hello example was configured for an eZ80F92 but this ZDS II project file I found was set up for an eZ80F91. This wasn’t a promising start.


So, I switched to the eZ80F92 in the General panel.


Now we can click Setup for the hello_ram.ztgt target and we see… eZ80F91 specific PLL controls which are not available with the eZ80F92.

But at least we now have a target that the ZDS II IDE accepts.
The last thing we need to do is specifying the path were the IDE can find the nuttx binary. We can do this in the Output subpanel of the Linker panel:

Using the simulator
I quickly started using the ZDS II Simulator instead of running the code on the actual hardware. Next to be able to test faster, it does have the possibility to capture the output of the serial ports even when they’re not set up properly for a certain baudrate. The simulator only checks if you write to the UART0_THR (0xC0) or UART1_THR (0xD0) registers. This excludes a source of potential problems for now when searching for problems.
The same counts for memory. The simulator doesn’t care about ROM/RAM nor of the bus type. And all 16 MByte of memory is there. So that excludes any errors in the linkcmd file.
And last but not least, you can set much more breakpoints than the 3 that you can set on the actual hardware.
But even with this trick, nothing happened.
Setting things up for debugging
So, it was time to start debugging. This required recompiling everything again since the default build is optimized without any debug information:

So, back to:
make nconfig


Next to generate debug symbols and a non optimized build, you can enable logging for various components of NuttX. This seemed interesting and I switched on logging for a lot of components.


Now, we’re ready to test our new binary again (after recompilation of course) and see if we can see some useful information when stepping through the code:


Progress!
It’s alive
Opening the “Simulated UART Output” debug window and hitting the F5 button suddenly gave me the following output:

The output we see above is generated by the various logging sources I enabled earlier (Enable Debug Features after running make nconfig). What’s missing however, is the Hello, World!! from the hello sample code. Nevertheless, we’re making progress.
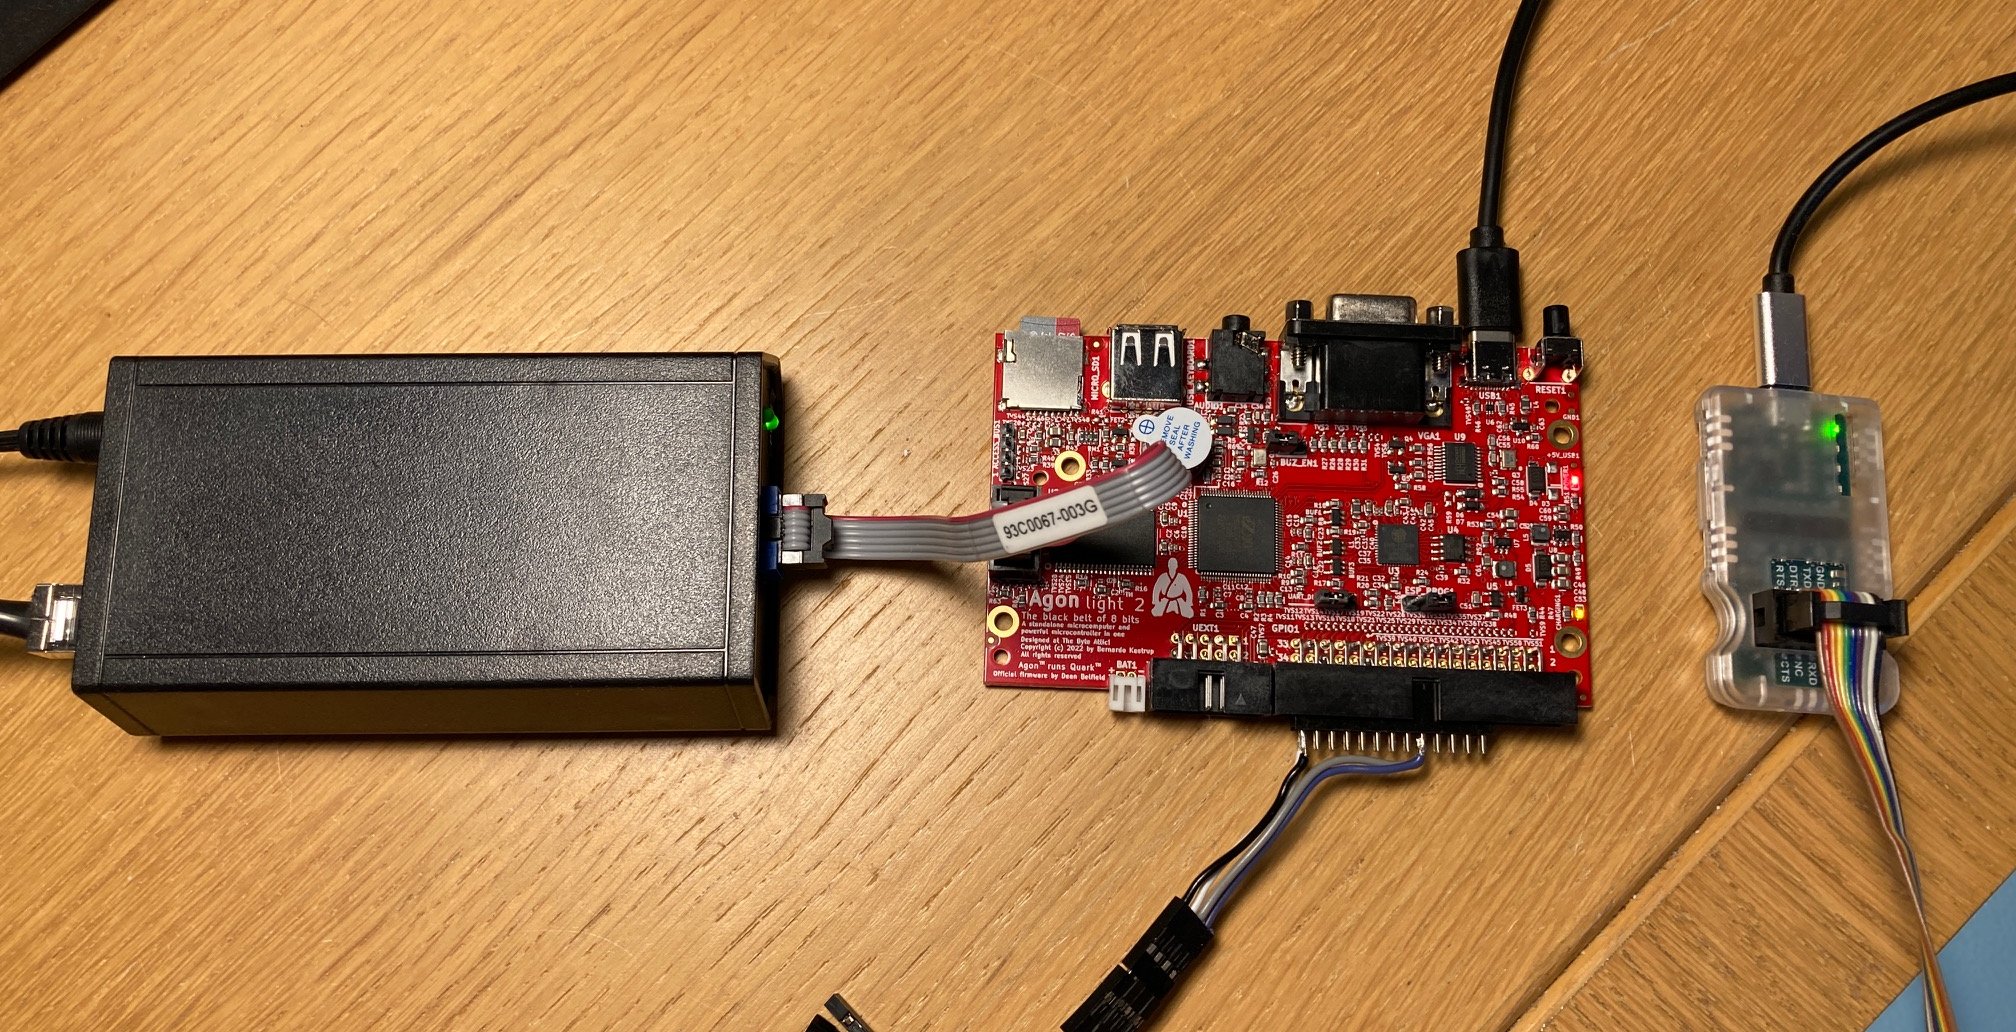
Time to run this on the actual hardware and, you’ve guessed it, nothing…
Debugging
It’s time to do some real debugging and step through the code to understand how everything is supposed to work. As has become the norm, this was easier said than done because of some peculiarity of the ZDS II toolchain.
At this stage of debugging, it makes sense to investigate if everything is setup properly (e.g. has UART1 the correct baudrate, stop bits, parity, etc.).
After a reset, we quickly enter _ez80_startup:


At this point, I want to step into _ez80_board_initialize() to check what happens there and if it would make sense:

And suddenly, we loose all source code and we’re left with only disassembly info. That’s very hard to debug.
Searching in the nuttx.map file, I can find _ez80_board_initialize() and it tells me it is defined in the ez80_boot.c file. Searching a bit further, I can find the following files:
ez80_boot.obj
ez80_boot.lst
ez80_boot.src
and those can be found at .../nuttx/arch/z80/src/board/.
Having the generated assembly code from the C source helps a bit but it remains very hard to follow. Every hex value needs to be looked up in the nuttx.map file to make sense of the generated code.
Don’t ask me how I figured this out but there is a way to convince the debugger to show the source code during debugging. The above mentioned path (.../nuttx/arch/z80/src/board/)to the generated assembly code can be used to guide the debugger where to find the debugging info it needs. In the Intermediate Files Directory box of the Project Settings, General panel, we can enter a different path to compiler generated files:

Now we start over by resetting and running to the breakpoint I placed where the code wants to call _ez80_board_initialize(), hold my breath and click on the step in icon (F11):

Success! We see the source code again and it’s a lot easier now to follow the codeflow. Let’s step into kmm_addregion() now. And we loose debugging info again…

The disassembly panel shows us that we stepped into address 0x0556A2. Searching this address in the nuttx.map file, we find this:
_umm_addregion D:0556A2 umm_addregion CODE
Hmm, that’s not kmm_addregion() I expected. Browsing through the source code I find this however:
# define kmm_addregion(h,s) umm_addregion(h,s)
Crisis averted but we still don’t have any source code level debugging.
To solve this, I searched for the path of the compiler generated files of umm_addregion.c and found them at this relative path: nuttx/mm/bin/. Would the trick of changing the Intermediate Files Directory to nuttx/mm/bin/ work here as well?


Bummer… Maybe the redefining of kmm_addregion to umm_addregion fooled the debugger.
Let’s try another function. After _ez80_board_initialize() we call _nx_start() and this is located in the file nx_start.c and the compiler generated files are stored at this relative path: nuttx/sched/:


So, this technique might work for debugging purposes. Luckily, the build system of NuttX groups the files generated by the compiler/assembler in big groups and I didn’t had to change the Intermediate Files Directory too often to follow the code. This technique was a considerable time saver for me.
PS. I also tried dumping all compiler generated files in one location (e.g. a build directory) to avoid changing the Intermediate Files Directory constantly but that confused the debugger and it refused to work with such a setup.
TIP: When searching for the address of a certain function in the nuttx.map file, it happens quite often you can’t find it. The reason is that a lot of functions are declared as static. E.g. in ez80_serial.c :
/****************************************************************************
 * Private Function Prototypes
 ****************************************************************************/

static int  ez80_setup(struct uart_dev_s *dev);
static void ez80_shutdown(struct uart_dev_s *dev);
static int  ez80_attach(struct uart_dev_s *dev);
static void ez80_detach(struct uart_dev_s *dev);
static int  ez80_interrupt(int irq, void *context, void *arg);
static int  ez80_ioctl(struct file *filep, int cmd, unsigned long arg);
static int  ez80_receive(struct uart_dev_s *dev, unsigned int *status);
static void ez80_rxint(struct uart_dev_s *dev, bool enable);
static bool ez80_rxavailable(struct uart_dev_s *dev);
static void ez80_send(struct uart_dev_s *dev, int ch);
static void ez80_txint(struct uart_dev_s *dev, bool enable);
static bool ez80_txready(struct uart_dev_s *dev);
static bool ez80_txempty(struct uart_dev_s *dev);
If you want to step into those functions, simply out-comment static, recompile (be prepared to recompile often and I hope you have a fast PC) and try again.
Global variables are declared static as well. It’s best to temporarily out-comment static these as well if you want to see if their content is as expected (pretty important for the next topic…).
The DATA section
One thing I quickly found out, now that I could use the debugger, is that something weird happened with global variables. The one I focused on was g_uart_ops, which is a structure holding function pointers to various serial port related operations:
/****************************************************************************
 * Private Data
 ****************************************************************************/

static const struct uart_ops_s g_uart_ops =
{
  ez80_setup,          /* setup */
  ez80_shutdown,       /* shutdown */
  ez80_attach,         /* attach */
  ez80_detach,         /* detach */
  ez80_ioctl,          /* ioctl */
  ez80_receive,        /* receive */
  ez80_rxint,          /* rxint */
  ez80_rxavailable,    /* rxavailable */
#ifdef CONFIG_SERIAL_IFLOWCONTROL
  NULL,                /* rxflowcontrol */
#endif
  ez80_send,           /* send */
  ez80_txint,          /* txint */
  ez80_txready,        /* txready */
  ez80_txempty         /* txempty */
};
I quickly found that the content of the initialized global variables was fine when using the simulator, it was not when running the code on the real hardware.
Long story short. What happened was that the linker put the global variables starting from address 0x000000 (which is the ROM area, thus not writeable) and then the _ez80_startup() code copied them into the RAM:
	; Copy the initialized data section

	ld		bc, __len_data		; [bc] = data length
	ld		a, __len_data >> 16	; Check for non-zero length
	or		a, c
	or		a, b
	jr		z, _ez80_datadone	; __len_data is zero-length ...
	ld		hl, __low_romdata	; [hl] = data_copy
	ld		de, __low_data		; [de] = data
	ldir						; Copy the data section
_ez80_datadone:
That worked fine in the simulator since there is no real ROM area and when the simulator loads the nuttx.lod file it happily stores the contents of the initialized global variables at address 0x000000 anyway and then _ez80_startup() copied it to the RAM area.
But when the debugger tries to do the same on the actual hardware, the global variables aren’t stored at address 0x000000 since that’s the area the internal flash occupies and the debugger should have used the appropriate flash commands instead to actually store data there. Which it doesn’t.
When _ez80_startup() is called, it then copies whatever values there are at address 0x000000 which are of course wrong values.
The solution for this was making a few small modifications to the .linkcmd file:
CHANGE DATA is RAM
COPY DATA RAM
This made sure that the initialised global variables end up in the RAM area when the debugger downloads the nuttx.lod in RAM. By doing so, _ez80_startup() then copies the correct values to their final destination.
This technique is probably only needed when compiling NuttX for RAM only use cases.
Then something wonderful happened:

We have output coming from the actual hardware. But still no Hello, World!!
Where are my interrupts?
From now on, I had to do all my debugging on the actual hardware. Although the documentation of the simulator hints that the simulator supports timers and interrupts, those didn’t seem to happen. Maybe a limitation of running the simulator via wine under Linux instead of Windows?
So we dig a bit further. What was also clear was that no interrupts were happening. And those are necessary for printf() to work. The logging mechanism directly writes its messages to the output register of the serial port used. Which explains why we see loggings but not the output from e.g. a printf().
So, my attention turned to ez80f92_program.asm, more particularly this part:
	; Copy the initialized data section

	ld		bc, _copysize		; [bc] = data length
	ld		hl, _ez80_handlers	; [hl] = data source
	ld		de, VECSTART		; [de] = data destination
	ldir						; Copy the interrupt handlers

	; REVISIT:  We must assume that the bootloader has configured the
	; interrupt mode correctly.  The IM register should be set to 2(i.e,
	; interrupt mode 2) and the I register should be set according to the
	; location of the 1st level interrupt vectors in FLASH.

	ret
	end
The mentioning of bootloader confused me since I couldn’t find more info about that in the source tree. Zilog does have a bootloader which allows code to be downloaded over e.g. a serial port and then it starts execution. But is seems to be working a bit different (e.g. different addresses where it expects the interrupt vectors) than what is needed here.
The bootloader also takes care of setting up the interrupt vector/jump tables.
Aha…
Bootstrapping
The only thing my NuttX binary does, is setting up the final jump table (starting at address 0x040000) when an interrupt happens. What’s missing is the 1st and 2nd jump table and enabling interrupts.
I modified the _ez80_initvectors() like this:
_ez80_initvectors:

	; The interrupt vector and redirection tables reside in FLASH, but the
	; handlers must be copied to into the VECSTART region in RAM.  This
	; is necessary to support interrupt hand-off from FLASH-based interrupt
	; vectors to RAM-based programs.

	; Copy the initialized data section

	ld		bc, _copysize		; [bc] = data length
	ld		hl, _ez80_handlers	; [hl] = data source
	ld		de, VECSTART		; [de] = data destination
	ldir						; Copy the interrupt handlers

	; REVISIT:  We must assume that the bootloader has configured the
	; interrupt mode correctly.  The IM register should be set to 2(i.e,
	; interrupt mode 2) and the I register should be set according to the
	; location of the 1st level interrupt vectors in FLASH.

	; Select interrupt mode 2

	im		2					; Interrupt mode 2

	; Write the address of the vector table into the interrupt vector base

	ld		a, %01
	ld		i, a

	ret
	end
Just adding setting up interrupt mode 2 and set the vector base register to 1 meaning that the 1st jumptable/vector table starts at address 0x000100.
I then made a small project for an eZ80F92 that sets up the first and second jump table and made sure that the second jump table points to the jump table starting at address 0x040000. This can be found in the NuttX_bootstrap subfolder I created at nuttx/boards/z80/ez80/z20x/NuttX_bootstrap/. Just compile and flash it once. This only need to be done once (as long as you stay with the RAM only scenario).
Reset the CPU and then download nuttx.lod. Do a few single steps and make sure that the 2nd jumptable, starting at 0x000160 indeed points to 0x040000:

:eClo,P WoUrld0!!
And this is what I see now in my terminal emulator:

We clearly see a garbled “Hello, World!!” appearing which can easily be explained by the logging interfering with the output of the printf().
Going through a re-configuration / re-compile cycle, this time without any logging, and I finally get:

PS. I needed to press enter in my terminal first before seeing “Hello, World!!”. Not sure if this is because of the terminal emulator I’m using (picocom) or if NuttX itself is waiting for a key press before springing into action.
NSH
With this success, I then started a more ambitious configuration (after applying all the learned lessons above of course):
./tools/configure.sh z20x:nsh -w
And I got this result. Using ps showed that 3 processes were running. I call that a success:

I tried of course reading an SD card. From a README:
    The SD card can be mounted with the following NSH mount command:

        nsh> mount -t vfat /dev/mmcsd0 /mnt/sdcard
        nsh> ls /mnt
        /mnt:
        sdcard/
Unfortunately, I got an error 19 back:

and according to nuttx/include/errno.h, this means:
#define ENODEV              19
#define ENODEV_STR          "No such device"
I already found that the code is using PB2 as the select line for the SPI device. This is correct for version 1.2 of the Z20X computer. But in version 1.3, this has changed to PB4. I applied those changes to ez80_spi.c but I only got different error codes. So, there must be something else.
I’ll keep this problem for a future, long evening, session…
A final note
In the screenshot below, you can find my recommended settings for a RAM only target that properly sets up the memory bus and address ranges.

The code
What I did was simply downloading the source code tarballs for both nuttx and apps of version 9.1.1.
After extracting both tarballs, I initialized a git repo with it. Then I created my own branch ccc_dev_branch and used this branch to check in all my small modifications that lead to a NuttX that can compile, and finally works on the eZ80, under wine on Linux using the official ZDS II tools from Zilog.
You can find the git repo here.
Disclaimer
Although I verified the build on 2 separate PC’s (but using the same Manjaro Linux Distro) I can’t guarantee it will work for everyone. I guess, the best I can say in such circumstances is: It works on my computer: ¯\\_(ツ)_/¯